Upload your designs
Choose the size and the number of copies for each design. You can trim empty edges, remove a background, sharpen soft edges or make the design one colour. You'll immediately see the result!
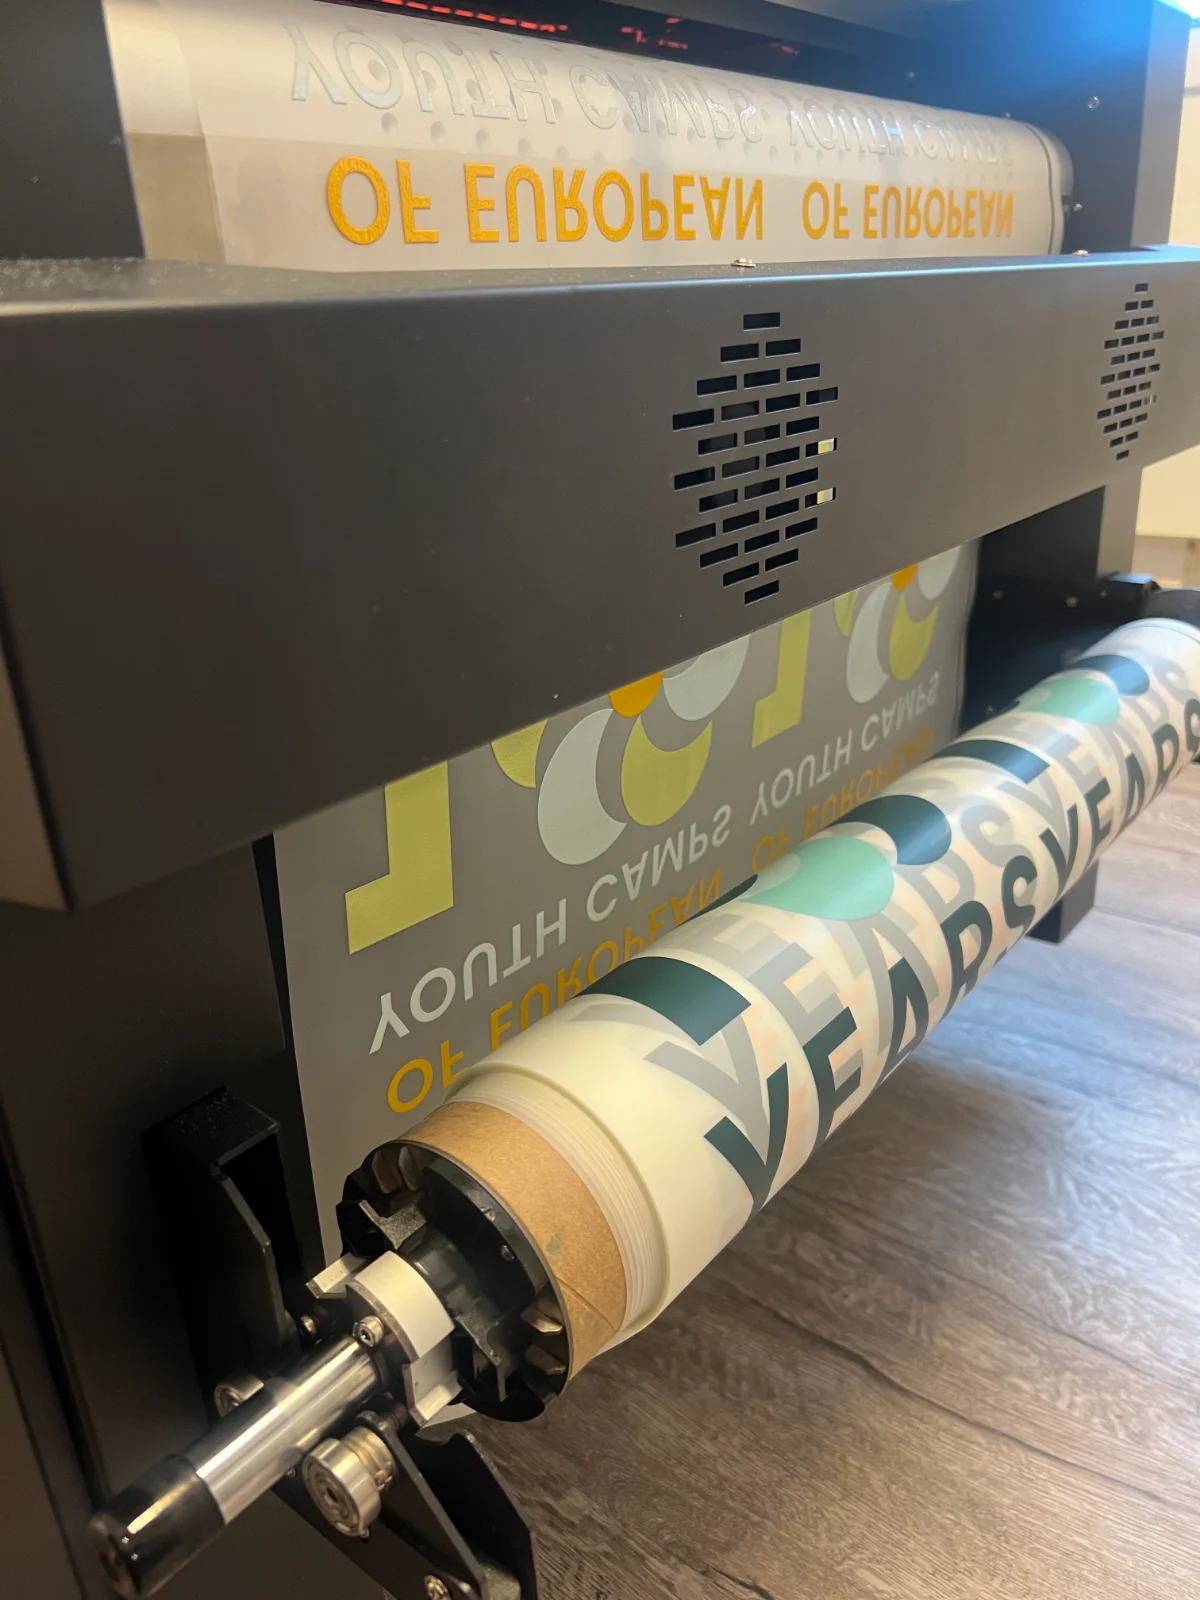
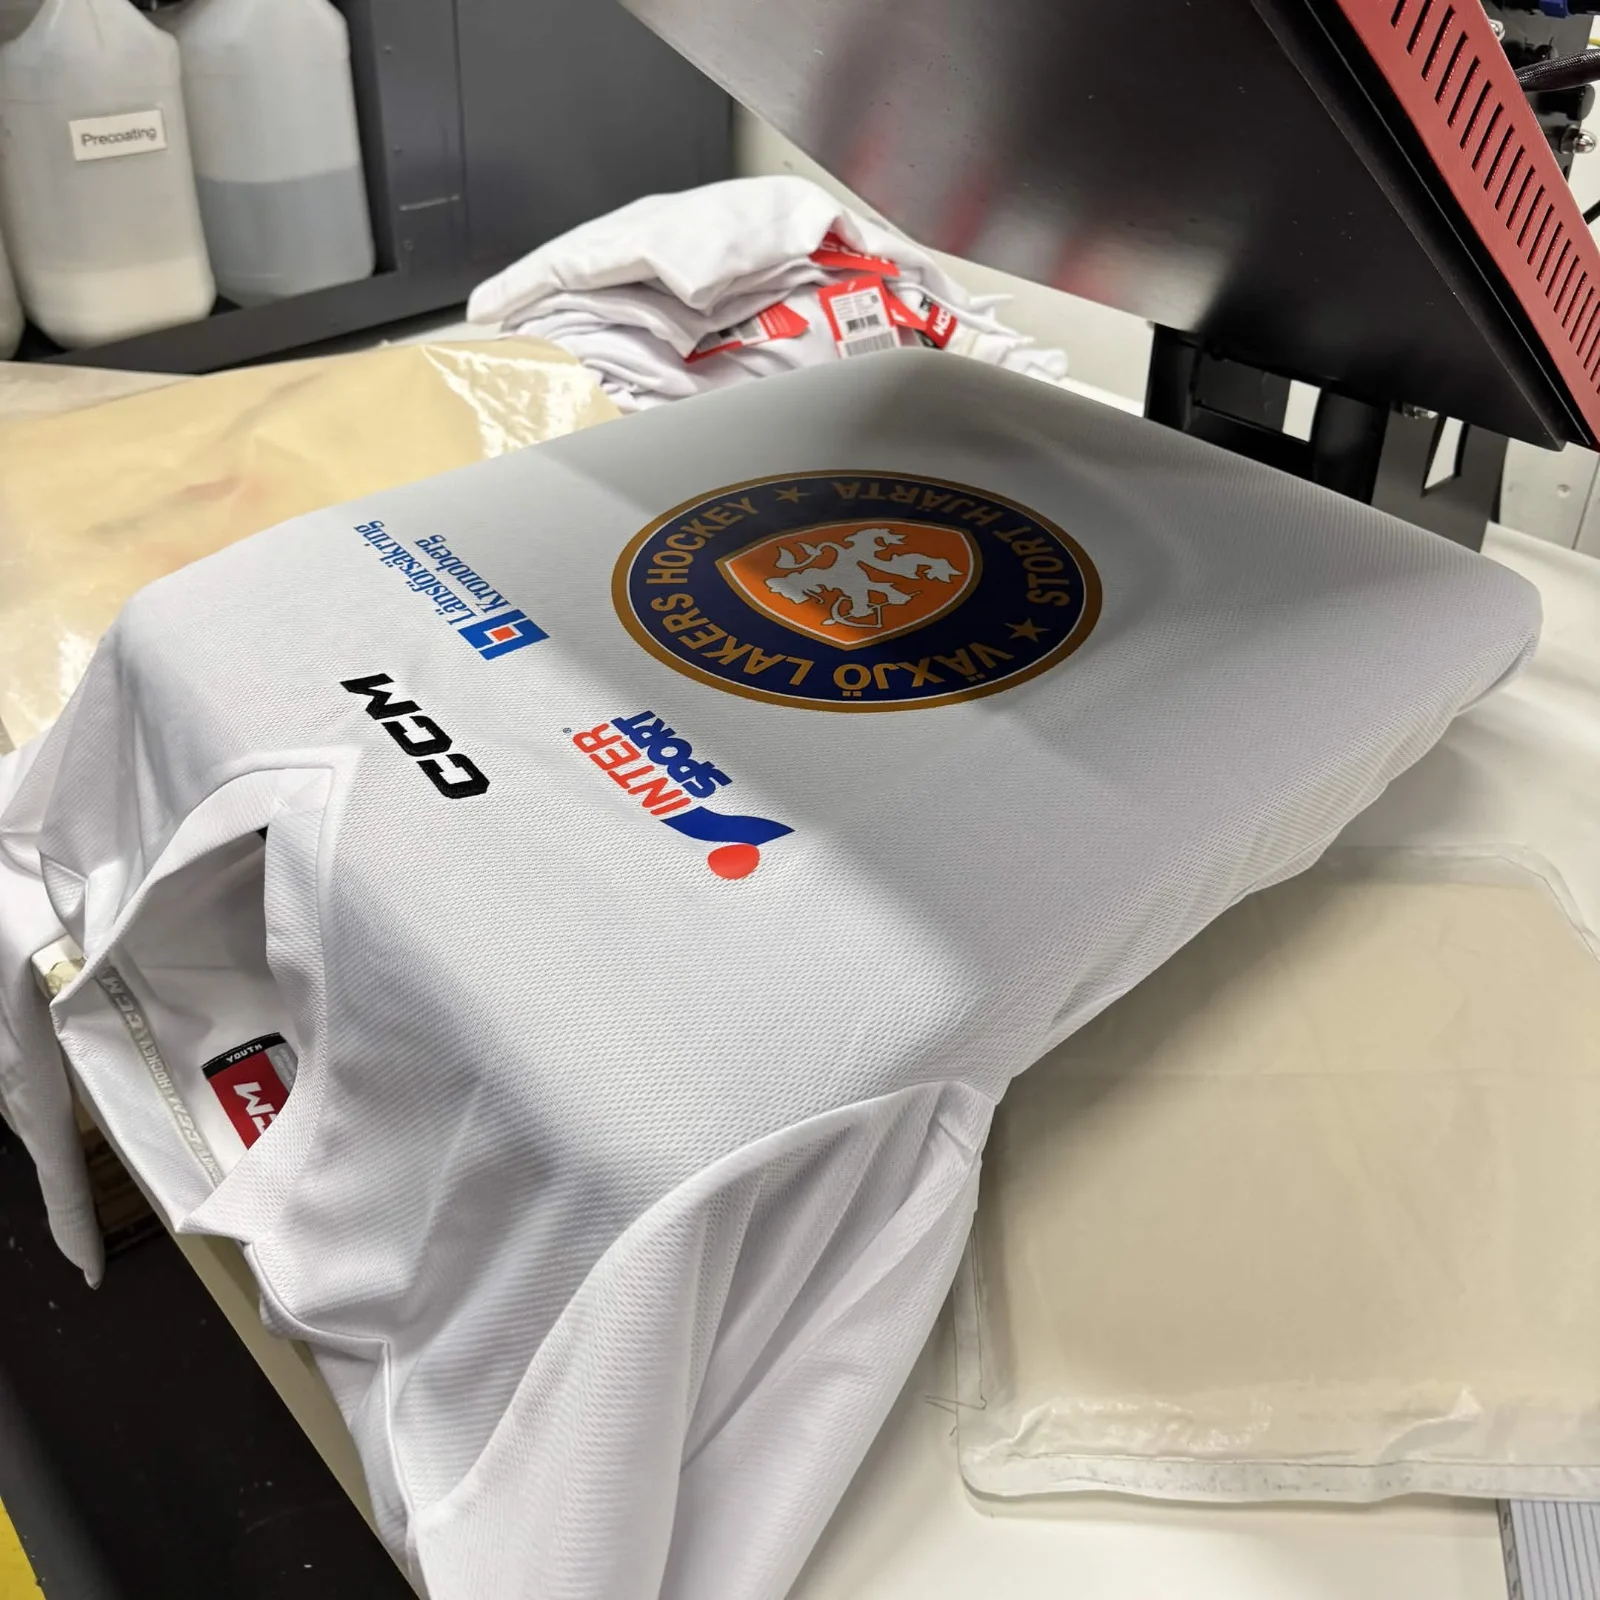
DTF transfers are printed on film and heat-pressed onto fabric. We print with six colours and white instead of four - orange, green, and bright yellow come out cleaner and stronger.
You pay by the metre of film, and the more you order, the lower the price per metre.
Drag to compare.
Choose the size and the number of copies for each design. You can trim empty edges, remove a background, sharpen soft edges or make the design one colour. You'll immediately see the result!
Check carefully your uploaded art - size, quality, edges, and background. We will print your sheet exactly how you send it in.
Pay by card, or by invoice if your company has invoice terms with us.
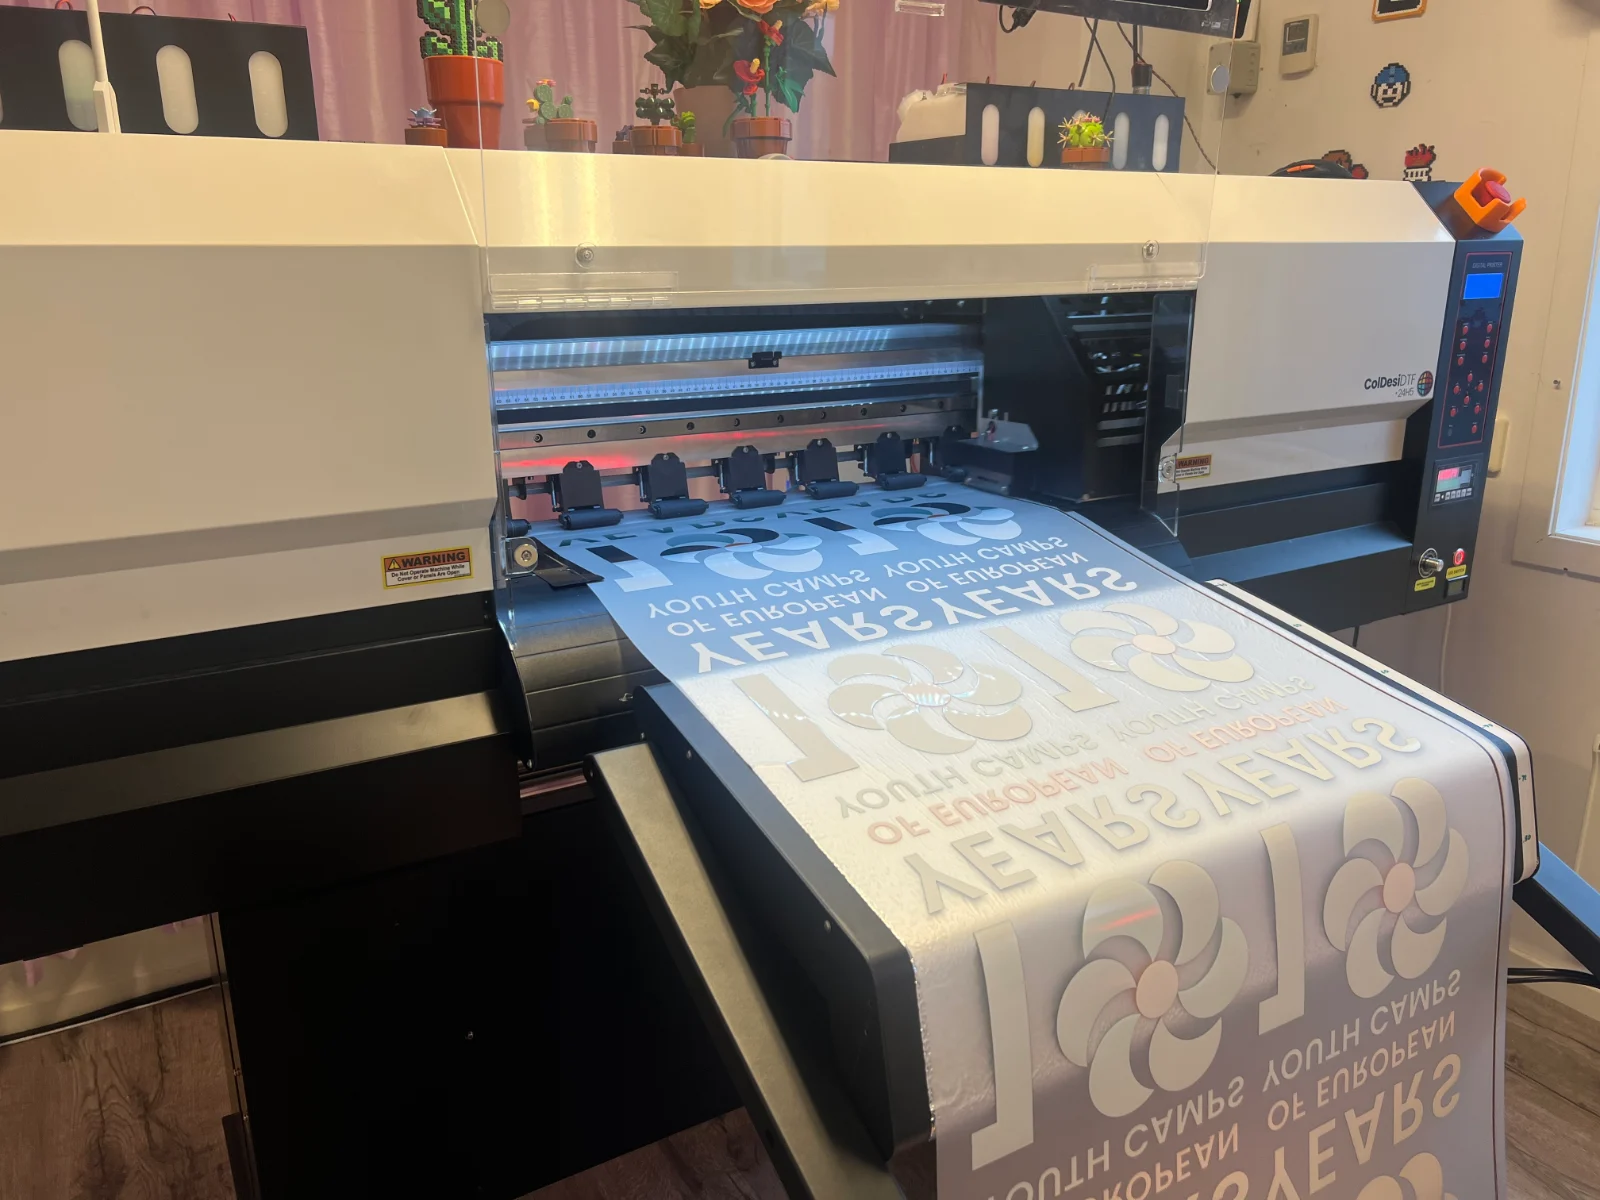
Made your design with AI, need to remove the background, or want to change the colour of your logo? You can sort it out yourself in a few clicks, and it is included in the price per metre.
A sheet is a roll with all your files, you pay just for the length. The more you order, the lower the price per metre becomes.
Does your company order regularly? Then you can get a discount on the price per metre. We can set you up with an account then you order as normal.
Would your company like an account? Get in touch at info@metervis.se.
An ordinary DTF printer gets all its colours from cyan, magenta, yellow and black. We have orange and green ink as well. This means that colour nuance that would otherwise be lost comes out bright and clear.
Four colours: mixed from magenta and yellow.
Six colours: printed with orange ink.
Four colours: mixed from cyan and yellow.
Six colours: printed with green ink.
Four colours: tend to come out dull.
Six colours: orange is added to give clearer and brighter yellows. Golden tones print as a colour, not as a metallic.
Everything else is still printed with cyan, magenta, yellow and black. The difference shows where four colours fall short.
We do not convert your file to four colours first. It prints straight from its own colours, and if you work in Adobe RGB, its stronger colours carry through all the way.
We lay white under every print, so the colours stand out even on black. The white is a touch smaller than the design, so no white edge shows.
The colours on this page are simulated. A screen cannot show print colours exactly.
We are the people behind Metervis: Andrew, Ida and Fredrik.
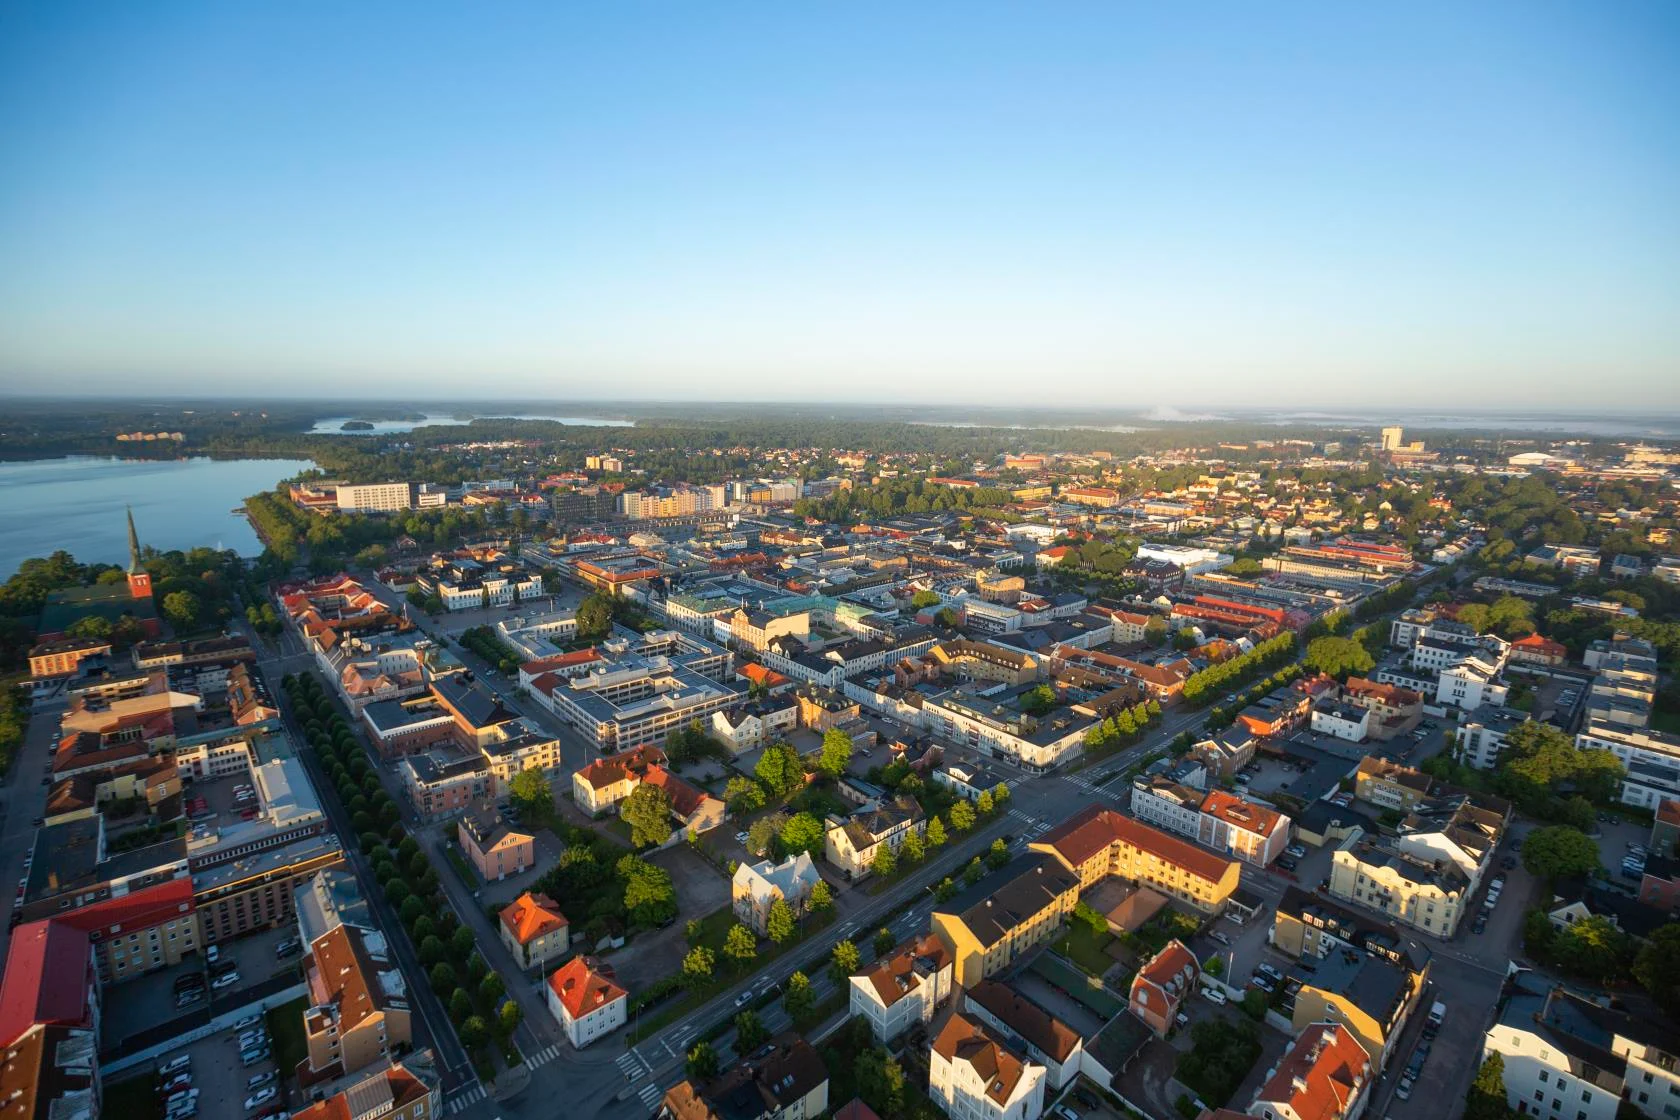
Metervis is run by Växjö Tröjtryckeri, a print shop in the heart of Småland, Sweden. Our vision is simple: ordering transfers by the roll should be easy, fast and straightforward, whether you’re ordering one metre or a hundred.
With modern technology, we make it easy for you to adjust your designs before ordering, helping you achieve the best possible results from the start. Our advanced printers produce vibrant prints with a wide colour range, made to last through washing and everyday wear.
Behind Metervis is a small team with hands-on printing experience every day. We know how important it is for transfers to perform when it’s time to heat-press them, so we put the same care into your order as we do into our own production. If you have any questions, you’re always welcome to get in touch!
Upload a design and see what your sheet costs. Trying is free.
Along the edge of the sheet runs a strip of colour lines. Cut it off before you press. The strip is our own check. We print it on every sheet and measure it as we go, to make sure the colours are right.
Prepare the garment. It should be clean, dry and smooth. Shake out the creases and lay it flat on the press.
Pre-press the garment. This is optional, but we recommend it, especially if the garment is freshly washed or has been somewhere damp. Press the garment for 5 seconds. This drives moisture out of the fabric and smooths out the last creases, so the adhesive bonds evenly.
Position the transfer. Lay it film side up, with the design face down on the fabric.
Press for 10 seconds. 160 °C for cotton, with firm pressure. It should take some effort to close the press.
Peel the film hot. As soon as the press opens, take hold of the corner nearest the largest printed area of the design and peel the film off in one quick, even pull.
Press a second time for 10 seconds. Lay baking parchment over the print and press again. This sets the print into the fabric, takes away the shine the film leaves and makes the print last longer in the wash.
Polyester. Test-press the fabric without a transfer first, to see what temperature it can take. Start at 140 °C. Too much heat can mark the fabric or make it shrink. Below 140 °C you may need to press for longer, and how much longer is for you to find out by trying.
A heat press gives a more reliable result, but smaller designs can be pressed with an iron. If the design is bigger than the iron's soleplate, you need a heat press. Keep three things in mind:
Everything else is as with a heat press: peel the film hot, then press a second time under baking parchment.
| What you see | The usual cause |
|---|---|
| The design lifts off with the film | Too short a time, too low a temperature or too little pressure. Lay the film back down and press again. |
| The film will not come away | It has cooled. Heat it again for 5 seconds and peel it straight away. |
| The print comes away after washing | The garment was not pressed a second time, or it was not pressed evenly. |
| A shiny surface where the film was | Press a second time under baking parchment. This takes the shine off. |
| A doubled or skewed print | The garment or the iron moved during pressing. |
Wait at least 24 hours after pressing before you wash the garment, so the transfer can fully cure into the fabric. Then wash it inside out at no more than 60 °C. For the longest-lasting print we recommend 30 to 40 °C. Avoid the tumble dryer, and never iron directly on the print.